
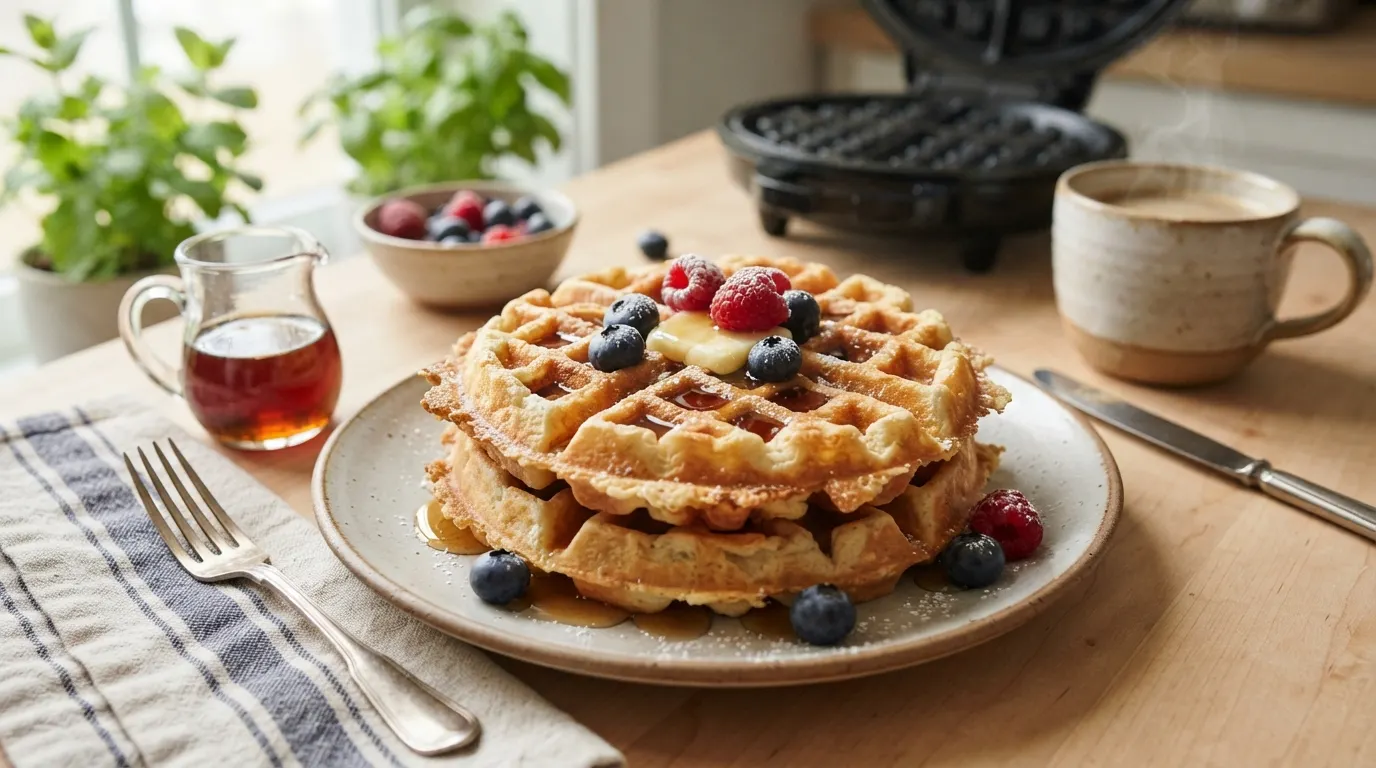
Buttermilk Waffles Recipe: Fluffy, Crispy & Easy Breakfast

Dry, flat waffles can ruin a relaxing breakfast and leave you with a meal that feels ordinary. Many recipes miss the right balance, making waffles heavy rather than light and crispy. A few simple changes can create better results.
Buttermilk waffles recipe helps you make waffles with a soft center and golden edges. This recipe solves common problems by focusing on:
- Simple ingredients that create rich flavor
- Easy steps for consistent waffle texture
- A crispy outside with a fluffy inside
Perfect waffles do not need complicated methods or special skills. With the right mixing and cooking tips, you can prepare a delicious breakfast that feels homemade, fresh, and satisfying every time you serve it.
Why You’ll Love This Buttermilk Waffles Recipe
These buttermilk waffles earn a permanent spot in your breakfast rotation thanks to its simple ingredients, quick prep time, and consistently crispy, fluffy results every single time.
- Truly fluffy and crispy. The tangy buttermilk reacts with the leaveners to create a light, airy crumb with a crackly golden exterior.
- One bowl is simple. Minimal cleanup, minimal fuss.
- Ready in under 30 minutes. Perfect for busy mornings or lazy weekends.
- Freezer friendly. Make a big batch and reheat straight from the freezer any day of the week.
- Endlessly customizable. Add blueberries, chocolate chips, or cinnamon to make it your own.
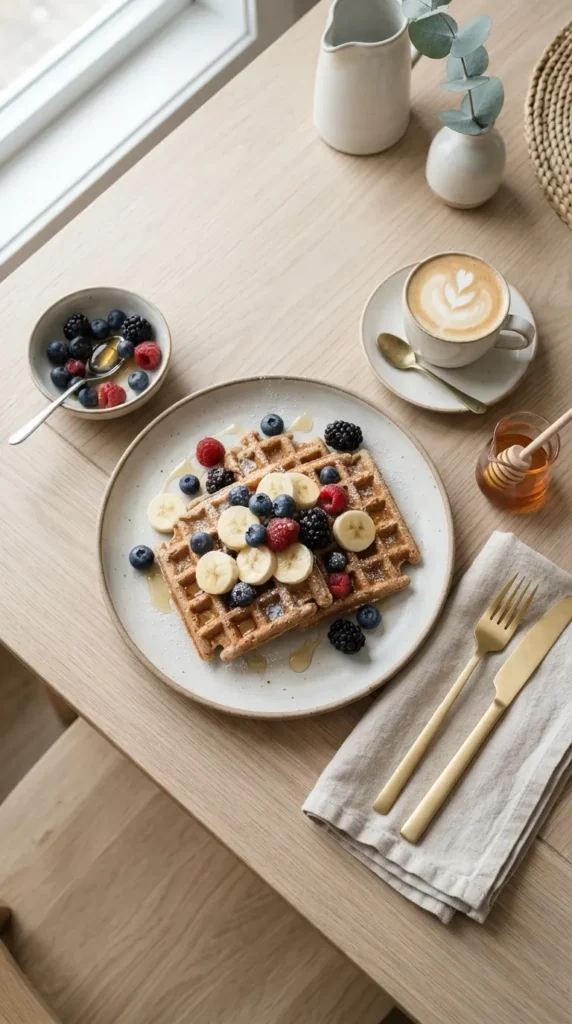
What You Need to Make Buttermilk Waffles
Most of what you need for this buttermilk waffles recipe is already sitting in your pantry and fridge, with buttermilk being the one special ingredient worth picking up.
- All purpose flour: The base of the batter. Spoon and level the flour instead of scooping directly from the bag to avoid packing in too much, which can make the waffles dense.
- Buttermilk: The star ingredient. Its natural acidity reacts with the baking soda and baking powder to create extra lift while adding a subtle tang that regular milk cannot replicate.
- Eggs: Add structure and richness. Separating the yolks and whipping the egg whites is optional, but it creates even fluffier waffles.
- Melted butter or neutral oil: Butter adds rich flavor, while oil helps keep the waffles tender for longer after cooking.
- Sugar: Adds a touch of sweetness and encourages beautiful golden browning.
- Baking powder and baking soda: This leavening combination creates light, airy waffles. The baking soda reacts with the acidity in the buttermilk for extra rise.
- Salt and vanilla extract: Enhance and balance the overall flavor.
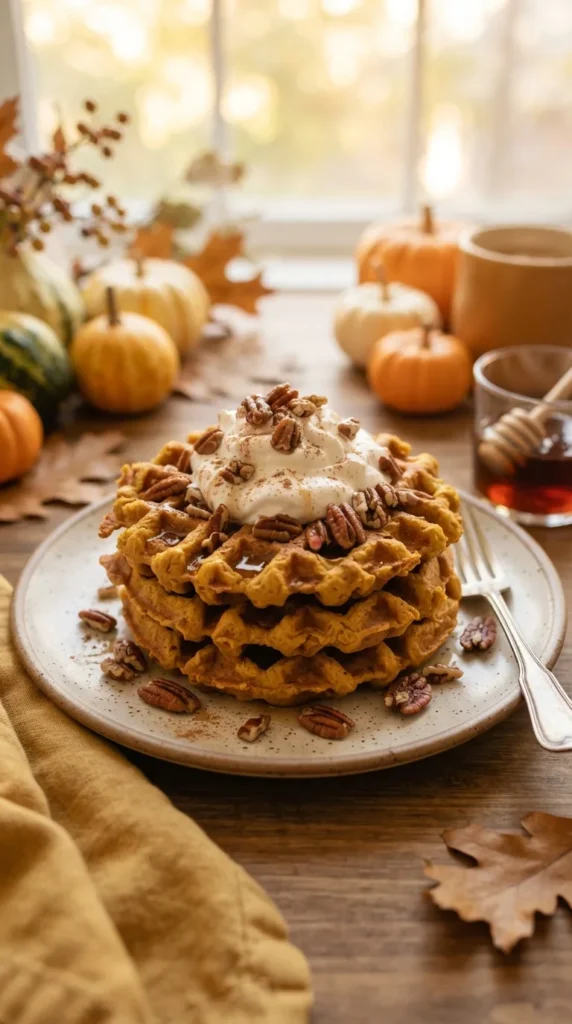
Equipment Needed
- Standard or Belgian waffle iron
- Two mixing bowls
- Whisk
- Ladle or measuring cup for portioning the batter
- Cooling rack (optional, for keeping waffles crispy)
- Nonstick cooking spray or pastry brush for greasing the waffle iron, if needed
How to Make a Buttermilk Substitute at Home
If you’re out of buttermilk, make a functional substitute with ingredients you likely already have. Note that while this works well, real buttermilk produces a noticeably better result.
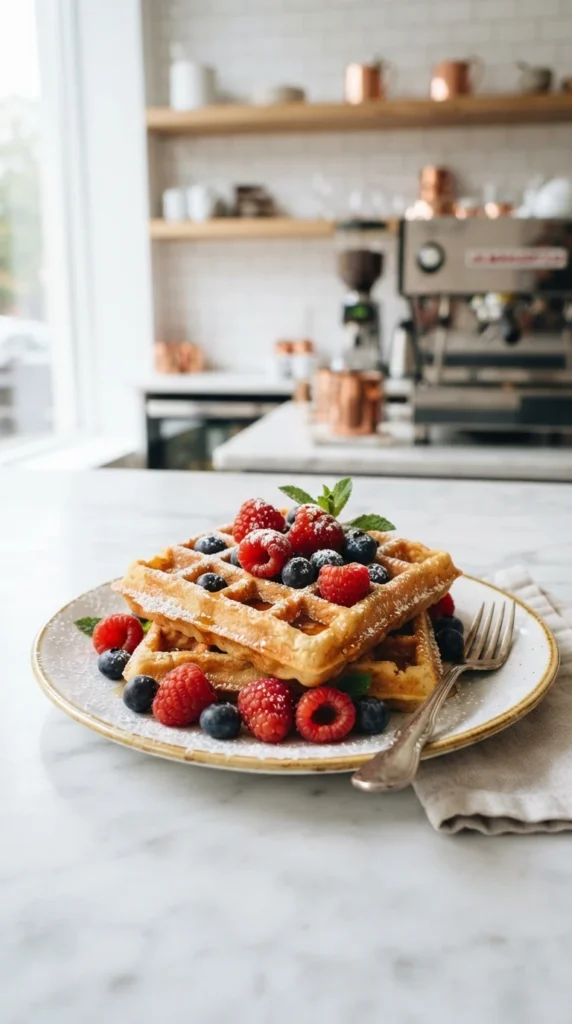
- Add 1 tablespoon of lemon juice or white vinegar to a liquid measuring cup
- Fill the cup with regular milk like dairy or plant-based until it reaches the 1 cup mark
- Stir gently and let sit for 5 to 10 minutes until it curdles slightly
- Repeat for the second cup
Your homemade buttermilk is ready to use exactly as the recipe directs.
Which substitute works best: Lemon juice creates a slightly more neutral flavor. White vinegar creates a more pronounced tang. Both work well. For plant-based versions, full-fat oat milk or soy milk creates the closest texture to dairy buttermilk; the fat content matters for achieving proper batter consistency.
How to Make Buttermilk Waffles Recipe (Step by Step)
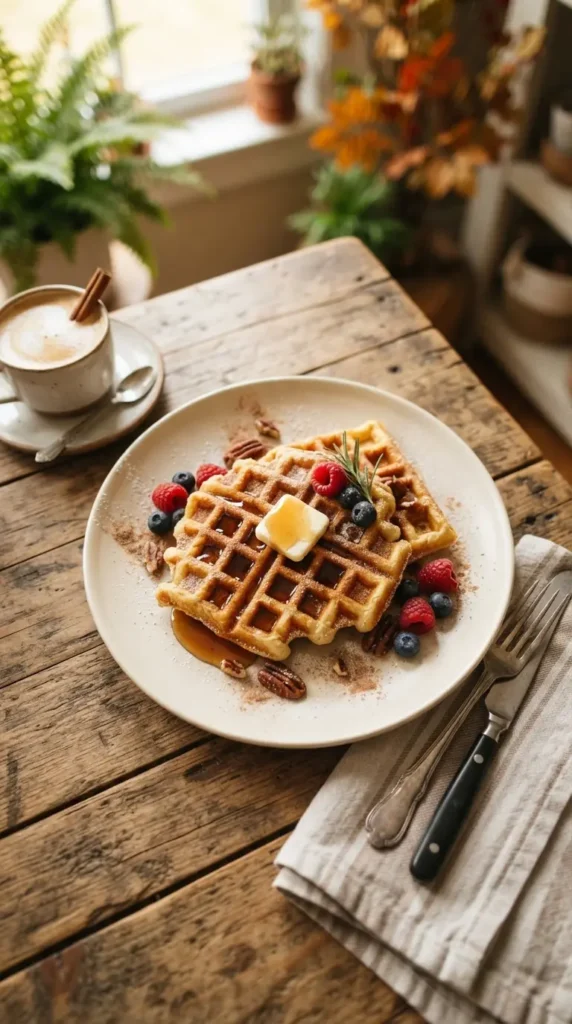
Follow these four simple steps to mix, rest, and cook a perfectly golden batch of buttermilk waffles from start to finish.
Step 1: Mix the Dry Ingredients
In a large mixing bowl, whisk together the flour, sugar, baking powder, baking soda, and salt until evenly combined. Mixing the dry ingredients first ensures the leavening agents are distributed throughout the batter.
Step 2: Whisk the Wet Ingredients
In another bowl, whisk together the buttermilk, eggs, melted butter or oil, and vanilla extract until smooth. Make sure everything is fully blended before adding the wet mixture to the dry ingredients.
Step 3: Combine the Batter
Pour the wet ingredients into the dry ingredients and gently whisk until just combined. Leave a few small lumps because overmixing creates tough waffles. Rest the batter for 5 to 10 minutes.
Step 4: Cook the Waffles
Preheat and lightly grease the waffle iron before adding about one third to one half cup of batter. Cook until golden brown and crisp, then carefully remove and serve immediately with toppings.
Nutritional Information
Per standard waffle, without toppings, based on recipe yielding 8 waffles
| Nutrient | Amount |
| Calories | Approximately 220 |
| Total Fat | 9g |
| Saturated Fat | 5g |
| Protein | 7g |
| Total Carbohydrates | 28g |
| Fiber | 1g |
| Sugar | 5g |
| Sodium | 390mg |
Nutritional values are approximate and vary based on specific ingredients used.
Delicious Variations & Mix-Ins
This base recipe is easy to customize with simple add-ins, letting you switch up the flavor depending on your mood or occasion.
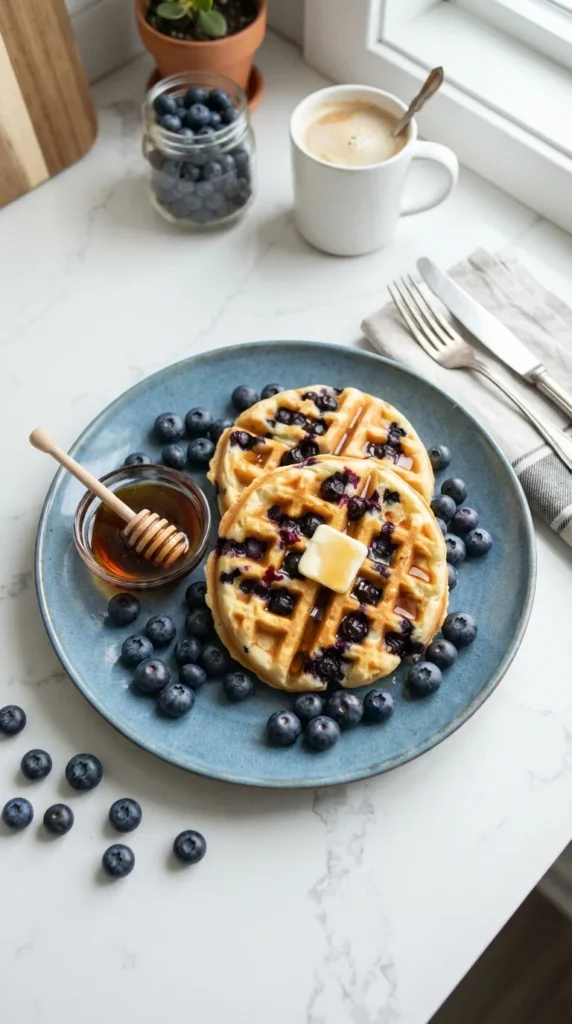
Blueberry Buttermilk Waffles: Fold ¾ cup of fresh or frozen, unthawed blueberries into the batter just before cooking for bursts of fruity sweetness in every bite.
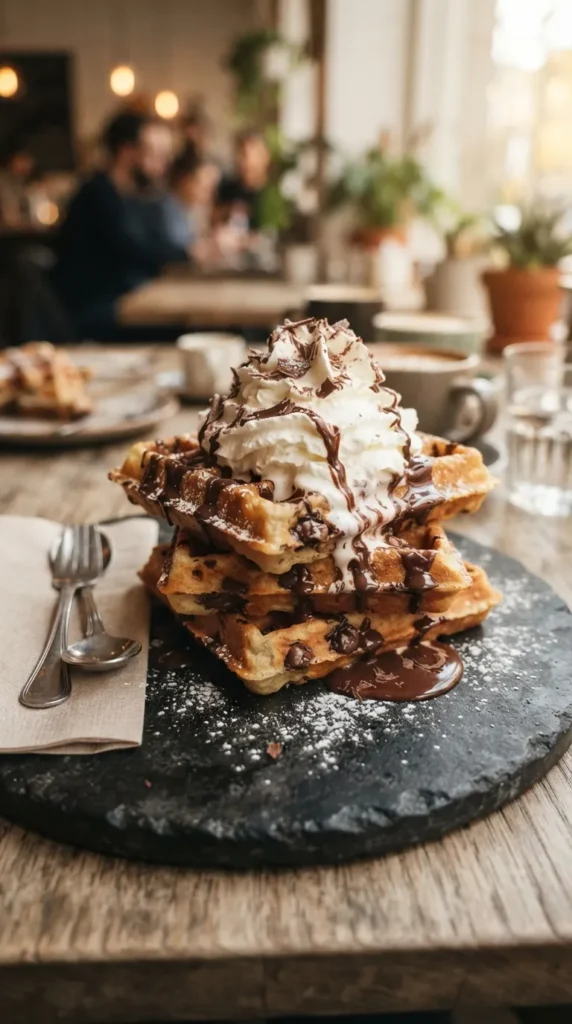
Chocolate Chip Waffles: Stir in ⅔ cup of mini chocolate chips for a dessert-like breakfast treat the whole family will love.
Cinnamon Buttermilk Waffles: Add a teaspoon of ground cinnamon to the dry ingredients for a warm, cozy flavor twist especially good in the fall and winter months.
Best Toppings for Buttermilk Waffles
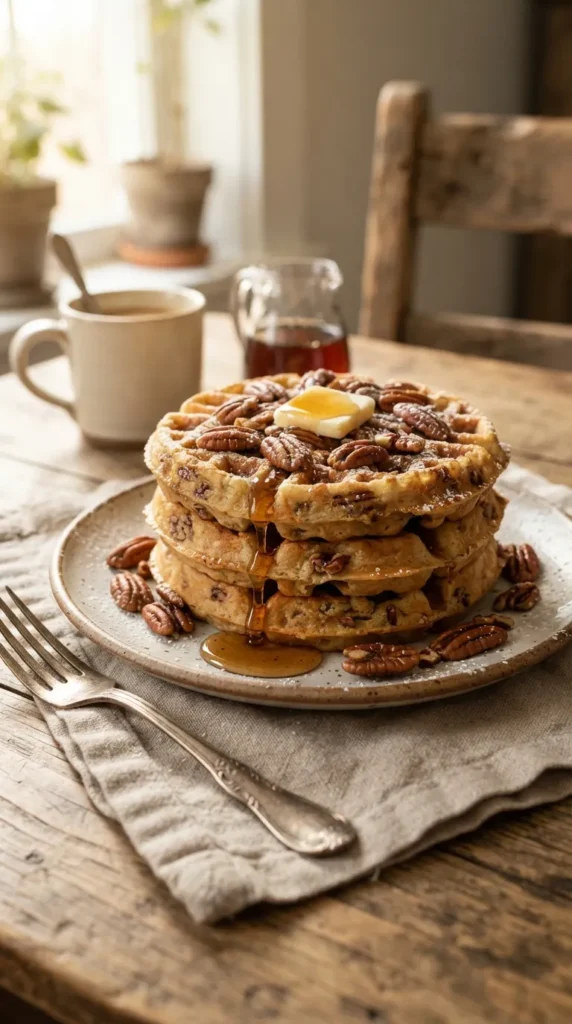
The right toppings can turn these already delicious waffles into something even more indulgent, from classic syrup to creative sweet additions.
Classic maple syrup and butter are always a win, but don’t stop there. Try whipped cream and fresh berries, a dusting of powdered sugar, peanut butter and honey, or even a scoop of vanilla ice cream for a waffle sundae. Buttermilk syrup or a fruit compote also pairs beautifully with the tangy flavor of the waffles.
How to Store & Reheat Buttermilk Waffles
These waffles store and reheat beautifully, making them perfect for meal prepping breakfast ahead of busy weekday mornings.
Refrigerator Storage
Allow the waffles to cool completely before storing them in an airtight container in the refrigerator. They will stay fresh for up to 4 days while maintaining their flavor and texture when properly stored.
Freezer Storage
Freeze cooled waffles in a single layer on a baking sheet until firm, then transfer them to a freezer safe bag or container with parchment paper between each layer. Store for up to 3 months.
Reheating Tips
Reheat waffles in a toaster on a medium setting for the crispiest results. You can also warm them in a 200°F oven for 5 to 10 minutes. Avoid microwaving, as it softens the crispy exterior.
Tips for the Fluffiest, Crispiest Waffles
A few small tweaks in technique make a big difference between an average waffle and a truly light, crisp, restaurant-quality one.
- Don’t overmix the batter. Small lumps are your friend because they keep the crumb tender.
- Let the batter rest. A short 5 to 10 minute rest hydrates the flour and improves texture and browning.
- Fully preheat your waffle iron. A cool iron leads to pale, soft waffles instead of crisp, golden ones.
- Use real buttermilk whenever possible. Its acidity and thickness create a noticeably better texture than substitutes.
- Serve immediately or crisp in the toaster. Waffles lose their crisp edges quickly, and a quick 30 second toast brings them right back.
- Avoid keeping waffles warm in the oven for too long because the crisp edges can become soft and steamy.
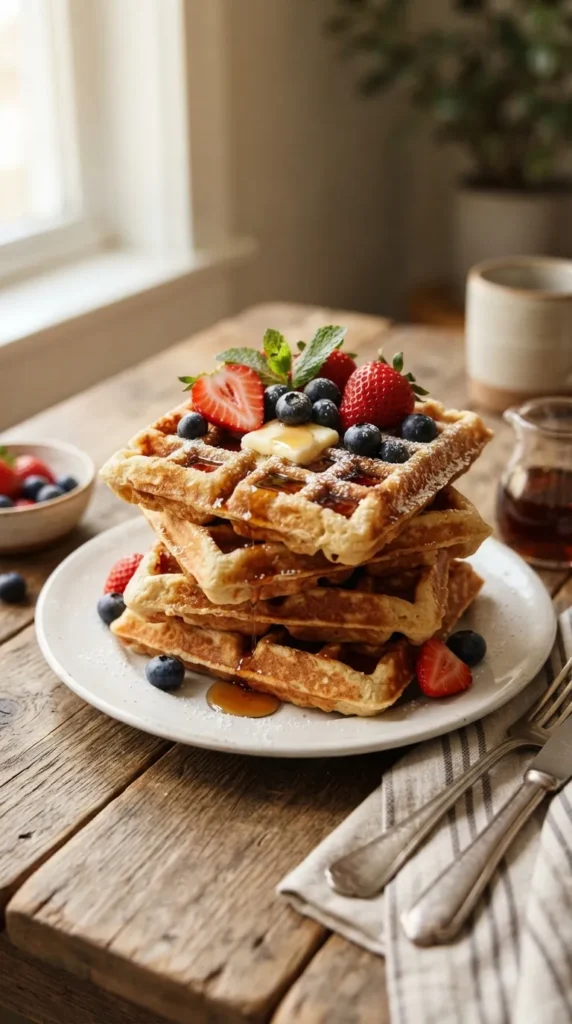
Why Your Waffles Might Not Be Turning Out Right
Knowing what causes common waffle problems makes it much easier to fix them.
- Why are my waffles dense? Dense waffles usually happen because the batter was mixed too much. Overmixing makes the flour develop gluten, creating a heavy texture instead of light, fluffy waffles.
- Why are my waffles pale and soft? Pale, soft waffles usually mean the waffle iron was not fully heated. A hot iron quickly creates a golden, crispy outside while keeping the inside fluffy.
- Why do my waffles stick? Waffles often stick when the waffle iron is not lightly greased before adding batter. Greasing the hot plates helps the waffles release cleanly after cooking.
- Why are my waffles gummy inside? Gummy waffles need more cooking time. Let them cook until the steam mostly stops before opening the waffle iron so the inside finishes cooking properly.
Scaling the Buttermilk Waffles Recipe
This recipe scales up or down easily with just a few adjustments.
- For 2 people: Halve all the ingredients. The resting and cooking steps remain the same.
- For 8 to 10 people: Double all the ingredients. Measure the baking powder and baking soda carefully, as even small inaccuracies can affect the flavor and texture. If needed, mix the batter in two large bowls to combine everything gently and evenly.
- Batter storage for later in the day: Prepare the batter ahead of time, but add the baking powder and baking soda just before cooking. They begin reacting as soon as they come into contact with the buttermilk, so adding them later helps the waffles stay light and fluffy.
Conclusion
A buttermilk waffles recipe brings together simple ingredients and reliable techniques to create waffles with crisp golden edges and a soft, fluffy center. Every batch delivers comforting homemade flavor that works for breakfast, brunch, or special occasions.
Keep this recipe on hand for busy weekdays or relaxed weekends whenever you want fresh, satisfying waffles. Pair them with your favorite toppings, store extras for later, and enjoy delicious results that everyone will happily come back for.